I thought a vintage sheet music wreath would be a perfect addition to my evolving piano room. This one turned out similar to
my first book page wreath. It was a very fun and addicting project, made with supplies purchased from either the dollar or thrift store. Total cost= $5!

Here's what you need:
{foam wreath
{cream ribbon
{glue gun
{vintage sheet music
{masking tape
{a small cup
That's it!
Let's get started.

You could use any size foam wreath but the only one the dollar store had the day I went was this really wide one, so...

I just cut it right in half with a knife.

If you buy a thick one like me, just save the other half for when you want to make another book page wreath. Trust me you will--they're addicting.
Wrap the wreath with a wide ribbon, glueing occasionally as you go. Or you could skip this whole step, especially if your wreath is white or cream.

This one was made out of florist foam and flaked every time I touched it so I definitely wanted to wrap it.

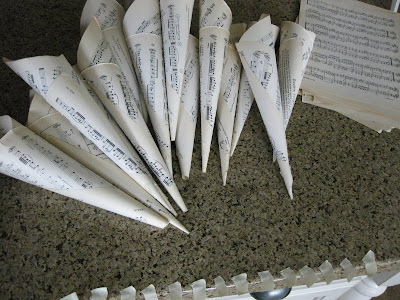
Now tear out about 50 pages of vintage sheet music. This is where it gets really fun. Once you get the idea of how to form each sheet into a cone shape it goes really quick.
This is how you do it:
Take a sheet and place your fingers on the two corners on the long side of the paper.

Keep your left hand still and with only your right hand wrap that corner around

continue to wrap in a forward motion

twist

twist

twist

keep twisting

Now twist your left and right hands in opposite directions to tighten the cone.

You can twist a lot to make a skinnier cone

or twist less and leave the cone opening bigger. Then secure with a small piece of masking tape.

I used a combination of skinny and big ones.

Once you have a big pile of these you are ready to glue.
Put your cup right in the middle. This will help you get a nice size circle opening in the center. You can vary the cup size depending on how big or small you want the opening to be.

Go all around the wreath hot glueing a single layer of cones to the wreath form. Don't worry if there are spaces or if it doesn't look perfect, this layer will be covered up.
Continue with a second layer.

Hang using a piece of ribbon or fabric threaded around the back of the wreath form.

Right now my wreath hangs simply from a small nail but I envision it one day hanging in the middle of a shabby door or gate hung just above the piano.

 I decided to keep my bottle brush trees out after Christmas, because I love them so much, and add some other natural looking elements:
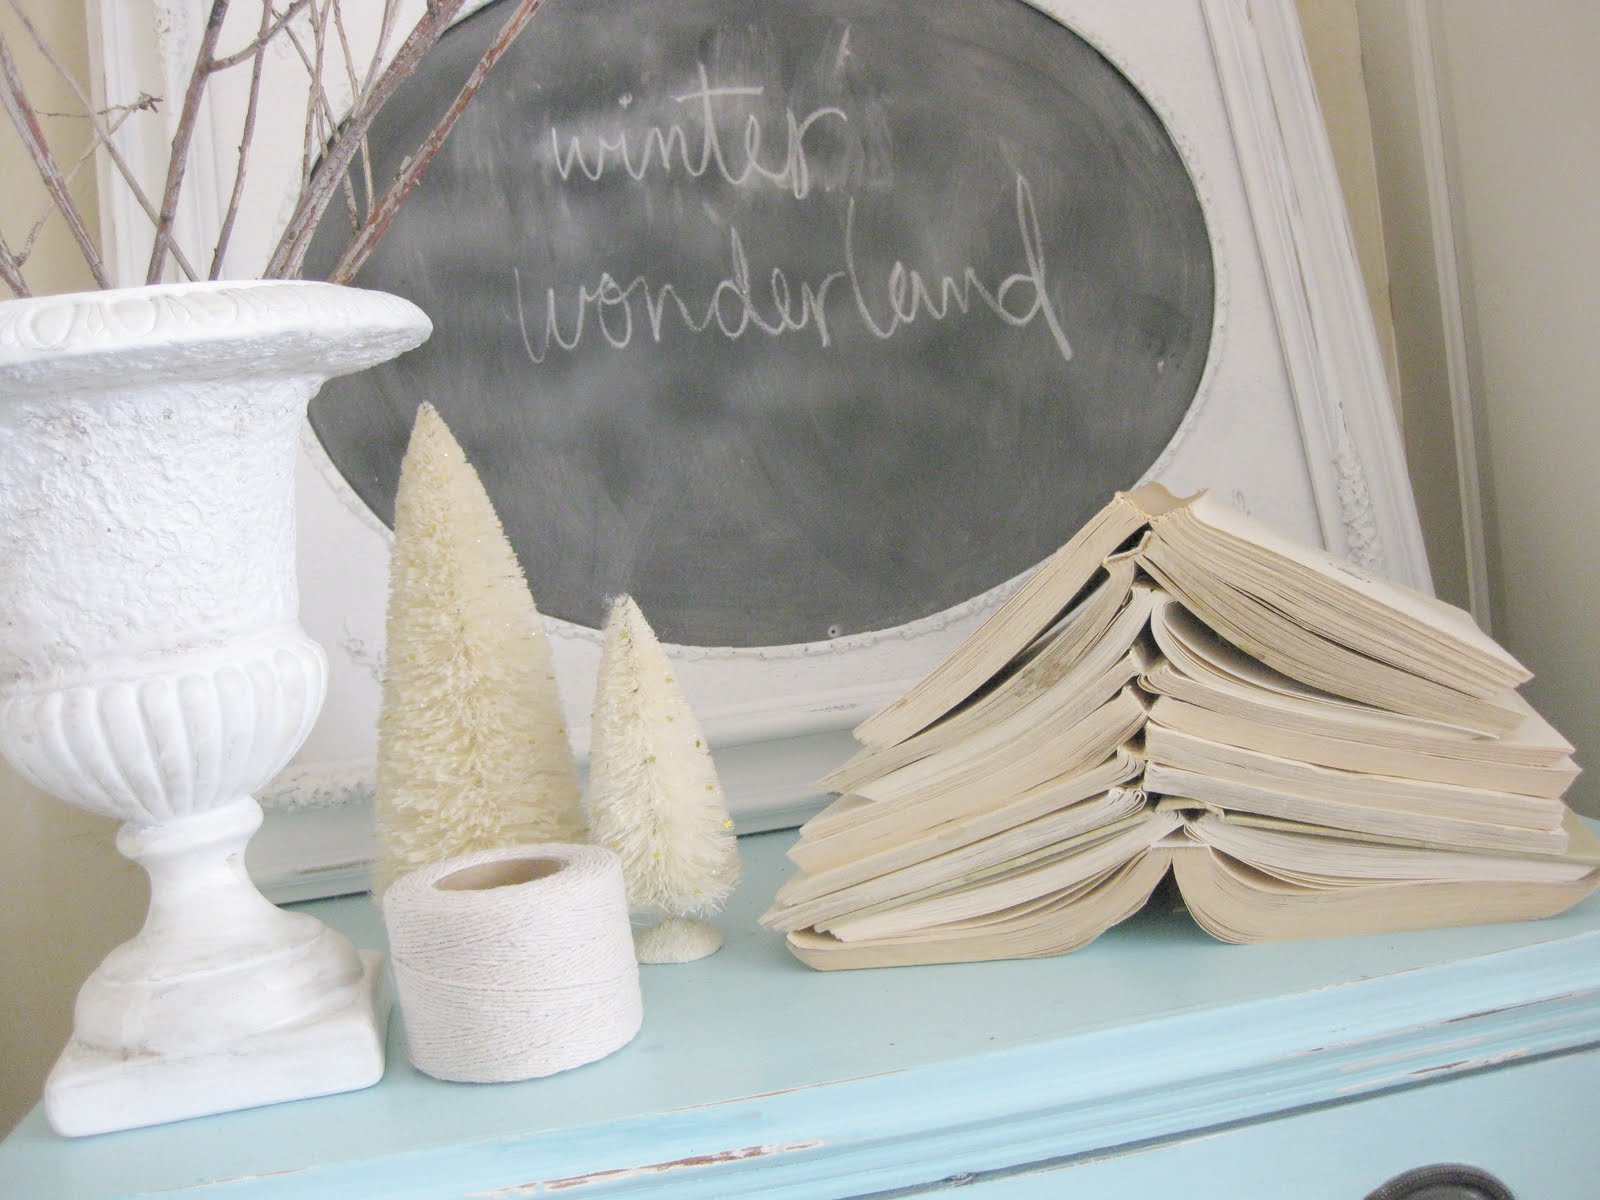 a ball of string from the dollar store,
 twigs in an urn,
 a stack of books in the form of a loosely shaped tree (I found these books at the library for .10 each and ripped the covers off). If there wasn't a foot of snow right now covering the ground I would go on a little hunt for pinecones--I'll have to remember to do that next fall.
 I love the look of the creams and whites on Jaqueline ...
 wintry, yet warm.


 Then start glueing them together. Let dry under a stack of something heavy. And then continue with the other 3 books until it is really full
 and looks something like this.


